Sound Strips
As well as images and movies the VSE can also edit audio tracks.
You can add Waveform Audio format WAV, mp3 and other audio formats files from your drive,
or from sound encoded within a movie, and mix them using an F-Curve as a volume control.
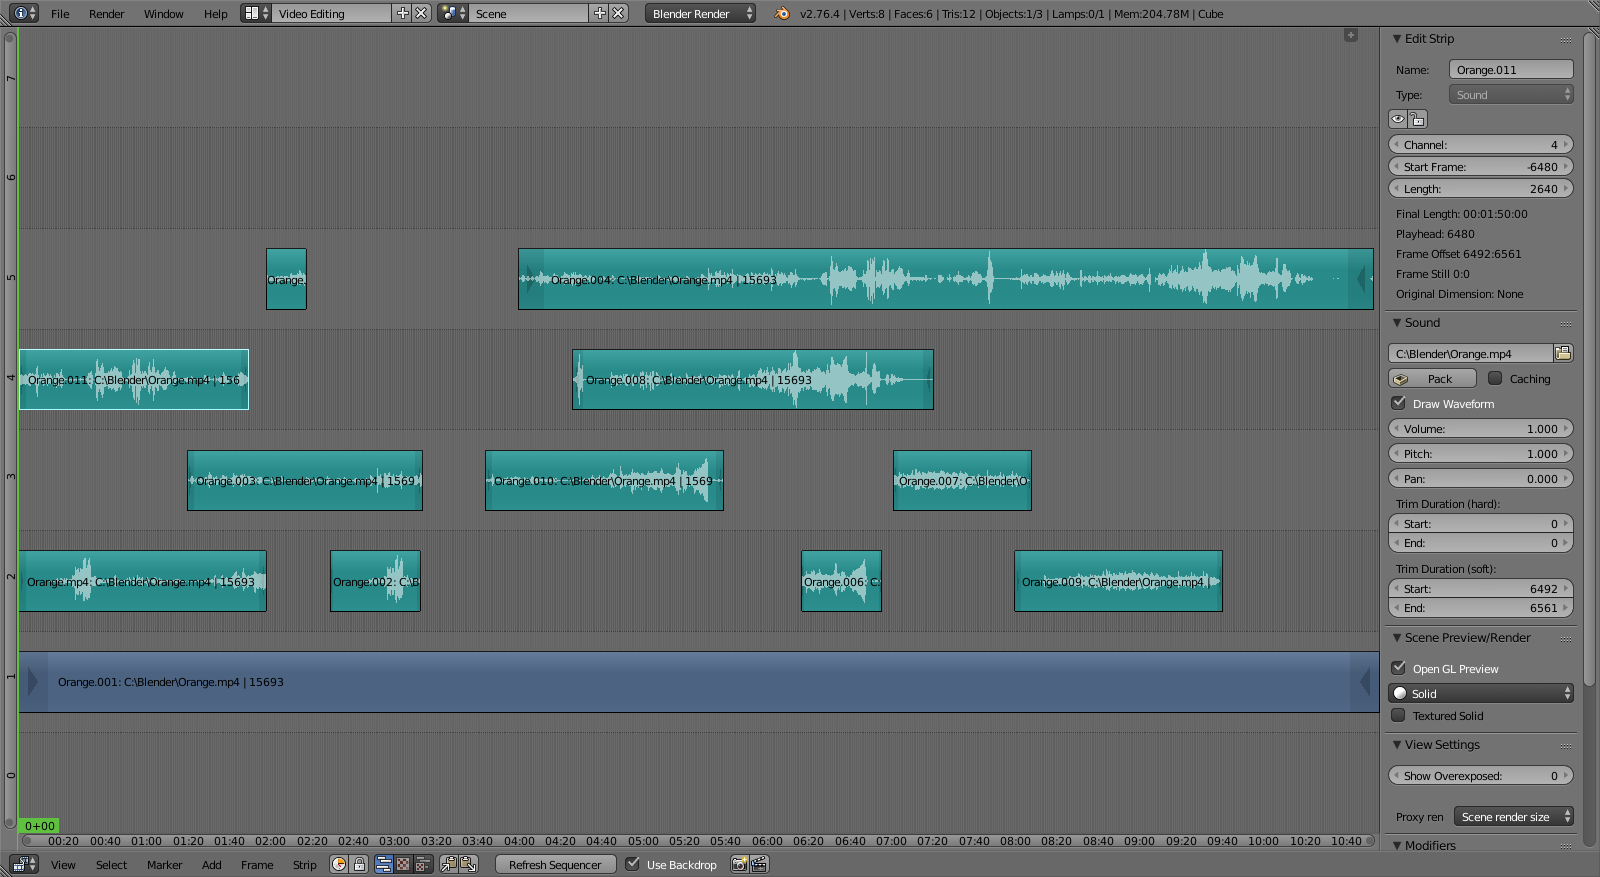
Example of Sound Editing.
Options
- Pack
- This allows you to save the audio file into the blend-file.
- Caching
- Caching loads a file into RAM and plays it from there, apposed to reading it for the hard drive.
- Draw Waveform
- Draws either the waveform or the strip name, file name, duration. This can be useful for syncing two or more audio strips.
- Volume
- Changes the loudness of the audio.
- Pitch
- Transposes the frequency of the audio.
- Pan
- Used to pan the audio from left and right channels -2 being hard left, 2 being hard right.
- Trim Duration
- Offset the start and end of a sound strip.
Working with Audio Tracks
An audio track (strip) is just like any other strip in the VSE. You can grab and move it,
adjust its starting offset using RMB over the arrow end handles,
and K cut it into pieces.
A useful example is cutting out the “um’s” and dead voice time.
You can have as many Audio strips as you wish and the result will be the mixing of all of them. You can give each strip its own name and volume via the properties region.
Overlapping strips are automatically mixed down during the rendering process. For example, you can have the announcer on channel 5, background music on channel 6, and Foley sound effects on channel 7.
See also
In the Playback Menu menu of the Timeline you will find some options concerning audio playback behavior.
Animating Audio Track Properties
To animate audio strips simply hit I over any of its values.
Examples of animating an audio strip are to fade in/out background music or to adjust volume levels.
Layered/crossed audio strips are added together;
the lower channel does not override and cut out higher channels (unlike image and video strips).
This makes Blender an audio mixer.
By adding audio tracks and using the curves to adjust each tracks’ sound level,
you have an automated dynamic multi-track audio mixer!
Output
There are two ways to render out your audio. You can either have it encoded with a video file or in its own audio file. To render your audio in an video file make sure to use a video format as the output with an audio codec and hit the render Animation button in the properties editor. Read more on how to do this here. To render as an audio file simple use the Audio button. Read more on how to do this here.
Known Limitations
Hiss, Crackle and Pop
In some cases when Caching is disabled, playback noise/hiss is introduced.
If you hear pops and crackles, usually that is a sign that your hardware cannot keep up in real-time playback. They will not be present in your final rendered animation output.
Also, static hiss can occur whenever two or more audio strips are overlapping in the timeline.