Introduction
Reference
Shift-AMeta objects are implicit surfaces, meaning that they are not explicitly defined by vertices (as meshes are) or control points (as surfaces are): they exist procedurally. Meta objects are literally mathematical formulas that are calculated on-the-fly by Blender.
A very distinct visual characteristic of metas is that they are fluid mercurial, or clay-like forms that have a “rounded” shape. Furthermore, when two meta objects get close to one another, they begin to interact with one another. They “blend” or “merge”, as water droplets do, especially in zero-g (which, by the way, makes them very handy for modeling streams of water when you do not want to do a fluid simulation). If they subsequently move away from one another, they restore their original shape.
Each of these is defined by its own underlying mathematical structure (Structure), and you can at any time switch between them using the Active Element panel.
Typically Meta objects are used for special effects or as a basis for modeling. For example, you could use a collection of metas to form the initial shape of your model and then convert it to a mesh for further modeling. Meta objects are also very efficient for ray-tracing.
Note
Meta objects have a slightly different behavior in Object Mode.
Visualization
In Object Mode, the calculated mesh is shown, along with a black “selection ring” (becoming pink when selected).
Meta Ball example.
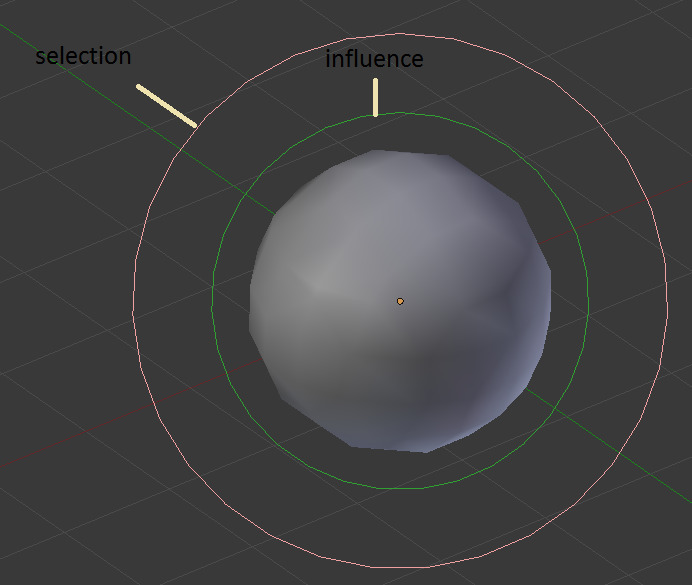
In Edit Mode (Fig. Meta Ball example.), a meta is drawn as a mesh (either shaded or as black wireframe,
but without any vertex of course), with two colored circles: a red one for selection (pink when selected),
and a green one for a direct control of the meta’s stiffness (light green when active).
Note that except for the Scale S transformation,
having the green circle highlighted is equivalent to having the red one.