Introduction
This chapter explains how to change Blender’s default configuration with the User Preferences editor.
The Blender User Preferences editor contains settings to control how Blender behaves.
Configure
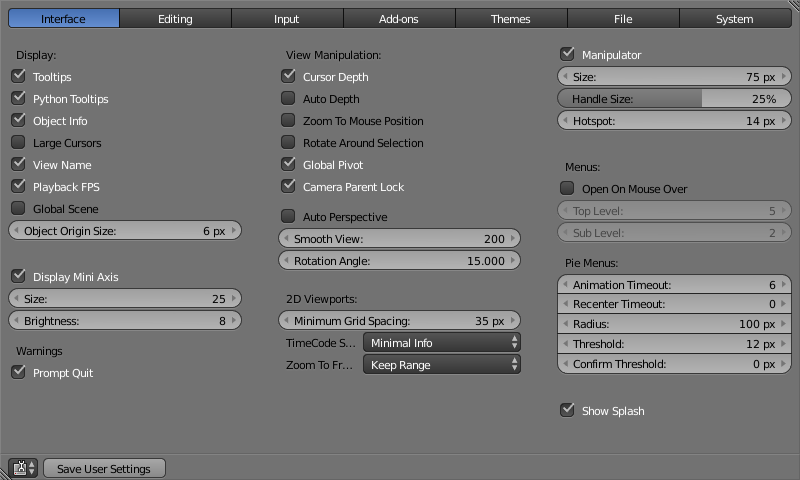
Now that you have opened the User Preferences editor, you can configure Blender to your liking. At the top of the editor, the available options are grouped into seven tabs:
- Interface
- Change how UI elements are displayed and how they react.
- Editing
- Control how several tools will interact with your input.
- Input
- Customize how Blender reacts to the mouse and keyboard as well as define your own keymap.
- Add-ons
- Manage Blender’s Add-ons, allowing you to access features not built-in as well as install new features.
- Themes
- Customize interface appearance and colors.
- File
- Configure auto-save preferences and set default file paths for blend-files, rendered images, and more.
- System
- Set resolution, scripting console preferences, sound, graphics cards, and internationalization.
Save User Settings
Once you have set your preferences, you will need to manually save them, otherwise the new configuration will be lost after a restart. Blender saves its preferences to userpref.blend in your user folder (see next section, “Load Factory Settings”, for details).
In the User Preferences editor, click on the Save User Settings button in the bottom left. This will save all of the new preferences.
Load Factory Settings
Go to then save the preferences via the User Preferences editor.
Hint
It can be valuable to make a backup of your preferences in the event that you lose your configuration.
See the directory layout section to see where your preferences are stored.