Properties
There are several modifiers for stroke vertex properties (i.e., line color, alpha transparency and thickness) available. As with other modifier stacks in Blender, they are applied from top to bottom.
Common Options
- Mix
- The modifier output can be mixed with the base property using the usual methods (see for example the Mix compositing node for further discussion of this topic).
- Influence
- How much the result of this modifier affects the current property.
Mapping
Mapping between the defined range and the range input of the modifier. e.g. a range of crease values.
Color
- Color Ramp
- A color ramp that maps the property to a stroke color.
Alpha
- Mapping
Either a linear progression (from 0.0 to 1.0), or a custom mapping curve.
Note
Note the linear non-inverted option is equivalent to “do nothing”, as original values from materials are already in the (0.0 to 1.0) range. Thats the case for: Crease Angle, 3D Curvature, Material, Noise, Tangent.
- Invert
- Inverts the Mapping.
Thickness
- Min Thickness and Max Thickness
- The minimum and maximum assigned thickness.
- Mapping
- Either a linear progression (from Min Thickness to Max Thickness), or a custom mapping curve (on the same range).
- Invert
- Inverts the Mapping.
Types
Along Stroke
The Along Stroke modifier alters the base property with a new one from a given range mapped along each stroke’s length. In other words, it applies a gradient along each stroke.
Calligraphy
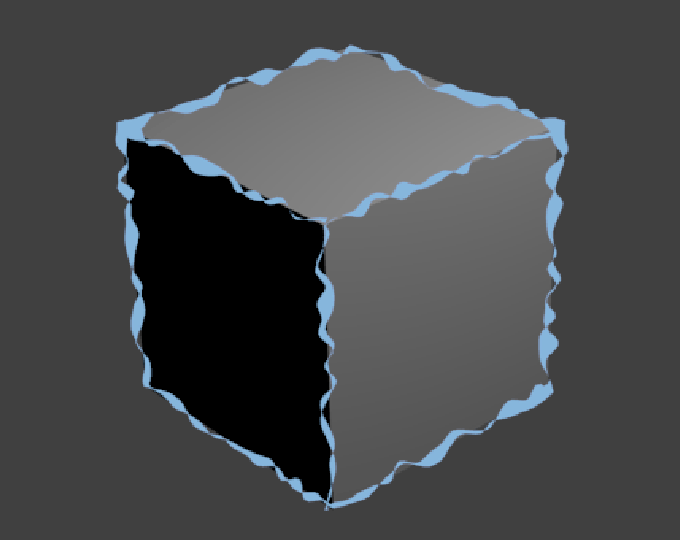
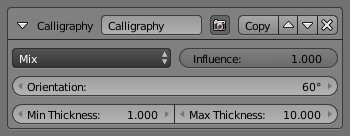
The Calligraphy modifier (thickness only) mimics some broad and flat pens for calligraphy. It generates different thickness based on the orientation of the stroke.
- Orientation
- The angle (orientation) of the virtual drawing tool, from the vertical axis of the picture. For example, an angle of 0.0 mimics a pen aligned with the vertical axis. Hence, the thickest strokes will be the vertical ones i.e. stroke’s direction is aligned with the angle, and the thinnest will be the horizontal ones i.e. stroke’s direction is perpendicular to the angle.
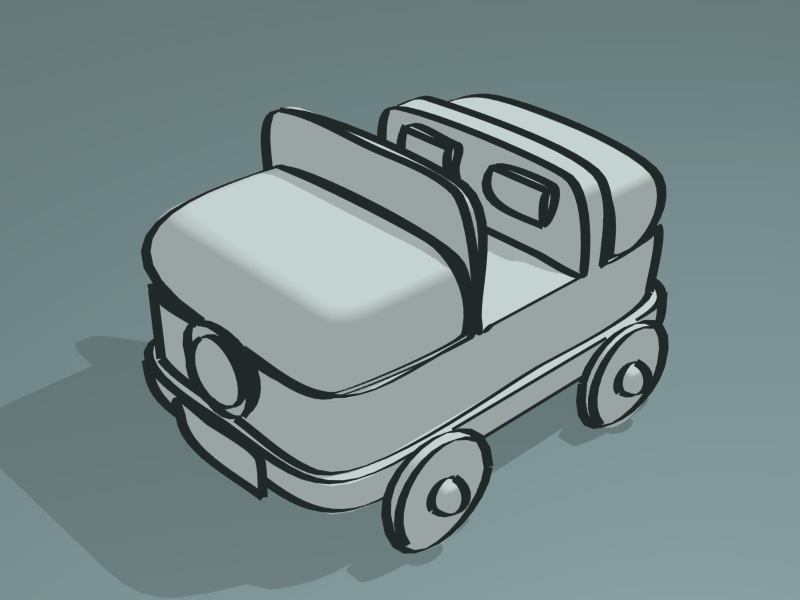
Calligraphy modifier demo by T.K. File:Toycar_Calligraphy.zip.
Crease Angle
A modifier based on the Crease Angle (angle between two adjacent faces). If a stroke segment does not lie on a crease (i.e., the edge does not have the Crease Angle nature, its properties are not touched by the modifier.
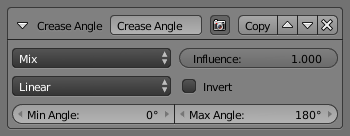
Alpha Modifier.
- Min Angle and Max Angle
- The range of input values to the mapping. Out-of-range crease angle values will be clamped by the Min and Max angles and their corresponding property values.
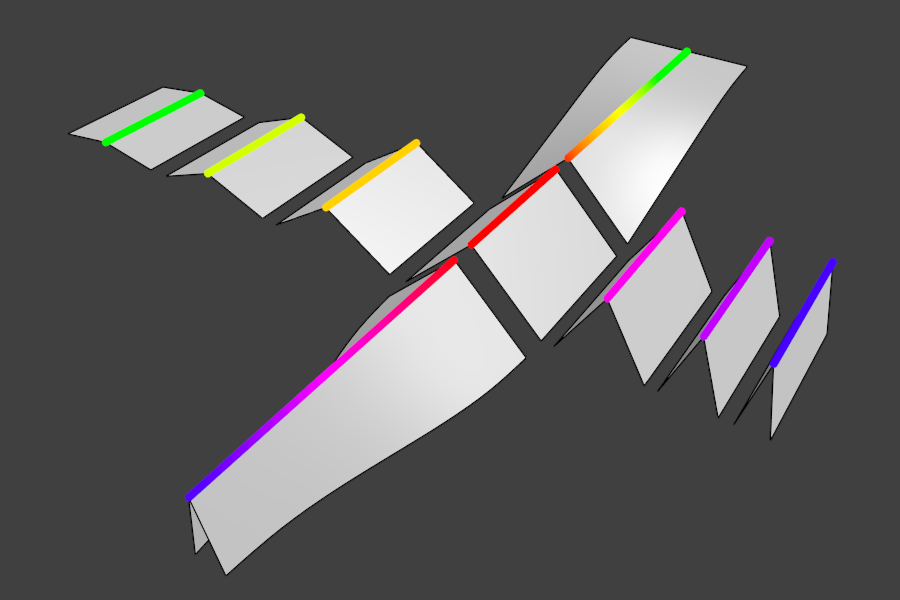
Crease Angle modifier demo by T.K. File:Render_freestyle_modifier_crease_angle.blend.
Curvature 3D
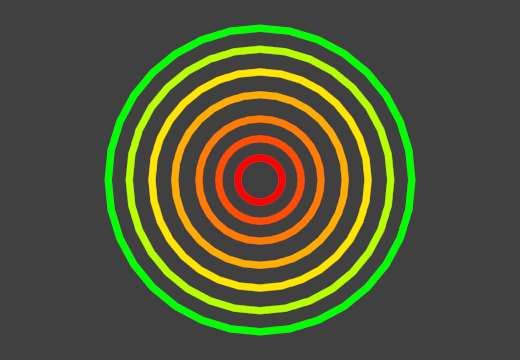
Curvature 3D modifier demo by T.K. File:Render_freestyle_modifier_curvature_3d.blend.
A modifier based on radial curvatures of the underlying 3D surface. The curvature of a 2D curve at a point is a measure of how quickly the curve turns at the point. The quicker the turn is, the larger the curvature is at the point. The curvature is zero if the curve is a straight line. Radial curvatures are those computed for a 2D curve that appears at the cross-section between the 3D surface and a plane defined by the view point (camera location) and the normal direction of the surface at the point.
For radial curvatures to be calculated (and therefore for this modifier to have any effect), the Face Smoothness option has to be turned on and the object needs to have Smooth Shading.
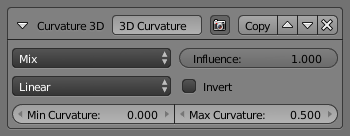
Alpha Modifier.
- Min Curvature and Max Curvature
- The limits of the mapping. If the current point of the stroke is at Min Curvature or less from the target, it will take the start point of the mapping, and conversely, if it is at Max Curvature or more from the target, it will take the end point value of the mapping.
Distance from Camera
The Distance from Camera modifier alters the base property with a new one from a given range using the distance to the active camera as the parameter.
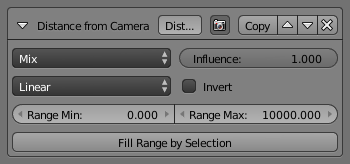
Alpha Modifier.
- Range Min and Range Max
- The limits of the mapping from “distance to camera” to “property in mapping”. If the current point of the stroke is at Range Min or less from the active camera, it will take the start value, and conversely, if it is at Range Max or more from the camera, it will take the end value. These values are in the current scene’s units, not in pixels!
- Fill Range by Selection
- Set the min/max range values from the distances between the current selected objects and the camera.
Distance from Object
The Distance from Object modifier alters the base property with a new one from a range, using the distance to a given object as the parameter.
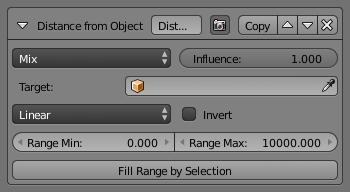
Alpha Modifier.
- Target
- The object to measure distance from.
- Range Min and Range Max
- Similar to Distance to Camera but to the object.
- Fill Range by Selection
- Set the min/max range values from the distances between the current selected objects and the target.
The other settings are those of the standard Blender color ramp!
Material

Color Modifier.
The Material modifier alters the base property with a new one taken from a given range mapped on the current material under the stroke.
You can use various properties of the materials, among which many are mono-component (i.e. give B&W results). In this case for the color modifier, an optional color ramp can be used to map these grayscale values to colored ones.
In the reverse case properties of the materials, which are multi-components (i.e. give RGB results) the mean value will be used for alpha and thickness modifiers.
If used with the Split by Material option in the Stroke tab, the result will not be blurred between materials along the strokes.

Material modifiers demo by T.K. File:Lilies_Color_Material.zip.
Noise
The Noise modifier uses a pseudo-random number generator to variably distribute the property along the stroke.
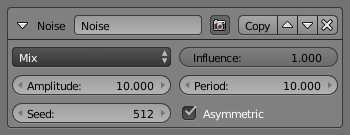
Thickness Modifier.
- Amplitude
- The maximum value of the noise. A higher amplitude means a less transparent (more solid) stroke.
- Period
- The period of the noise. This means how quickly the property value can change. A higher value means a more smoothly changing color along the stroke.
- Seed
- Seed used by the pseudo-random number generator.
- Asymmetric
- Thickness only – Allows the thickness to be distributed unevenly at every point. Internally, the stroke is represented as a backbone with a thickness to the right and left side. All other thickness shaders make sure that the left and right thickness values are equal. For the Noise shader however, a meaningful (and good-looking) result can be created by assigning different values to either side of the backbone.
Tangent
This modifier bases its effect on the traveling direction of the stroke evaluated at the stroke’s vertices.
