Curve Modifier
The Curve Modifier provides a simple but efficient method of deforming a mesh along a curve object.
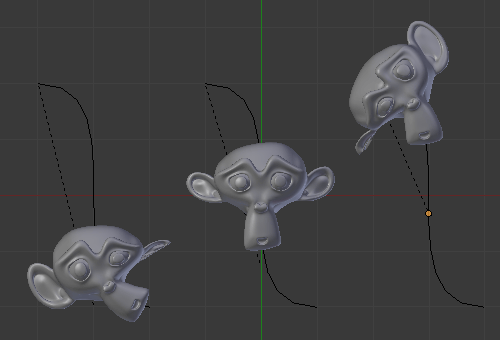
The Curve Modifier works on a (global) dominant axis, X, Y, or Z. This means that when you move your mesh in the dominant direction (by default, the X-axis), the mesh will traverse along the curve. Moving the mesh perpendicularly to this axis, the object will move closer or further away from the curve.
When you move the object beyond the curve endings the object will continue to deform based on the direction vector of the curve endings.
If the curve is 3D, the Tilt value of its control points will be used to twist the deformed object. In the under Path/Curve-Deform are options that influence the modifier.
Options
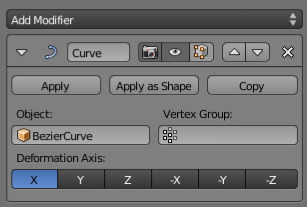
Curve Modifier.
- Object
- The name of the curve object that will affect the deformed object.
- Vertex Group
- A vertex group name within the deformed object. The modifier will only affect vertices assigned to this group.
- Deformation Axis
This is the axis that the curve deforms along.
X, Y, Z, -X, -Y, -Z
Example
Let us make a simple example:
- Remove default cube object from scene and add a Monkey with
- Now add a curve with
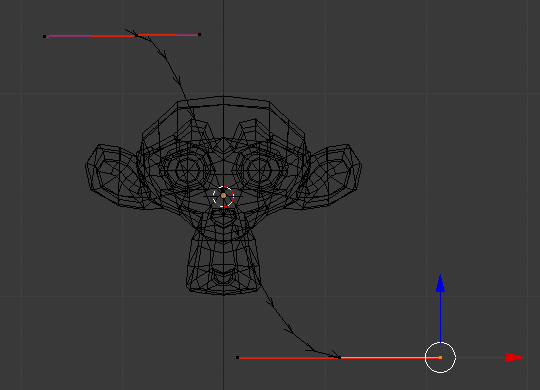
- While in Edit Mode, move the control points of the curve as shown in Fig. Edit Curve.,
then exit Edit Mode
Tab. - Select the Monkey
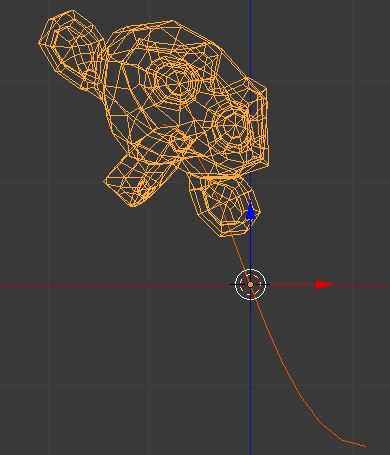
RMBin Object Mode - Assign the curve to the modifier, as shown below. The Monkey should be positioned on the curve:

Assign the Bézier curve to the Curve Modifier (for Monkey).
- Now if you select the Monkey, and move it in the Y-direction
G-Y, the monkey will deform nicely along the curve.
Tip
If you press MMB (or one of X, Y, Z)
while moving the Monkey you will constrain the movement to one axis only.
- In the image above you can see the Monkey at different positions along the curve. To get a cleaner view over the deformation, a Subdivision Surface Modifier with two subdivision levels was applied, and smooth shading was used.
