Motion Blur & Film
Motion Blur
Reference
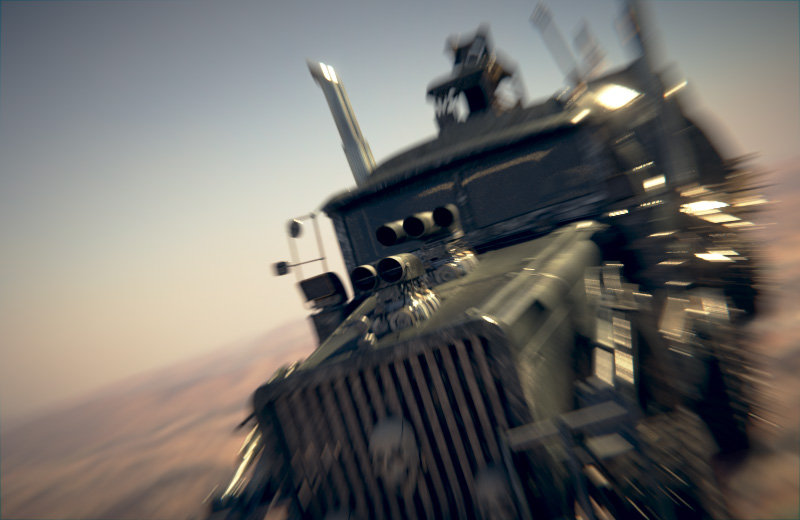
Blender’s animations are by default rendered as a sequence of perfectly still images. While great for stop-motion and time-lapses, this is unrealistic, since fast-moving objects do appear to be blurred in the direction of motion, both in a movie frame and in a photograph from a real-world camera.

Cycles Motion Blur Example.
Note
If there are particles or other physics system in a scene, be sure to bake them before rendering, otherwise you might not get correct or consistent motion.
Options
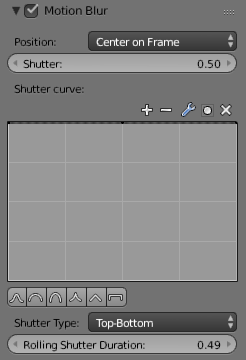
- Position
Controls at what point the shutter opens in relation to the frame.
- End on frame
- Center on frame
- Start on frame
- Shutter Speed
- Time between frames over which motion blur is computed. Shutter time 1.0 blurs over the length of 1 frame, 2.0 over the length of two frames, from the previous to the next.
- Shutter Curve
- Curve defining how the shutter opens and closes.
- Shutter Type
Replicates CMOS cameras by rendering a rolling shutter effect using scanlines.
- Top Bottom: Renders rolling shutter from the top of the image from the bottom.
- Rolling Shutter Duration
- Controls balance between pure rolling shutter effect and pure motion blur effect. With zero being no rolling shutter and one being all rolling shutter.
Warning
An object modifier setup that changes mesh topology over time will cause severe problems.
Common examples of this are animated Booleans, Deformation before Edge Split, Remesh, Skin or Decimate modifiers.
See also
Each object has its own settings to control motion blur. These options can be found in the Object tab of the Properties editor. See object setting for more information.
Film
Reference
- Exposure
- This can be used to change the brightness of an image. Different then the Exposure option found in the Color management panel this exposure option works is on the data while the Color management exposure is on the view.
- Transparent
- ToDo
- Pixel Filter
Blackman-Harris, Box, Gaussian
- Width
- ToDo.
