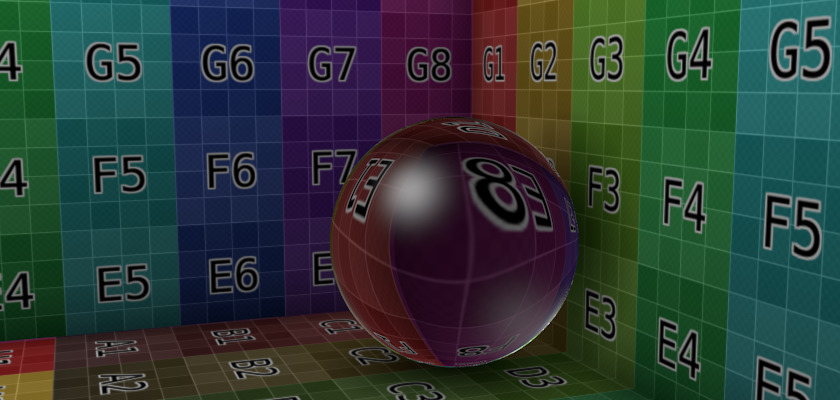
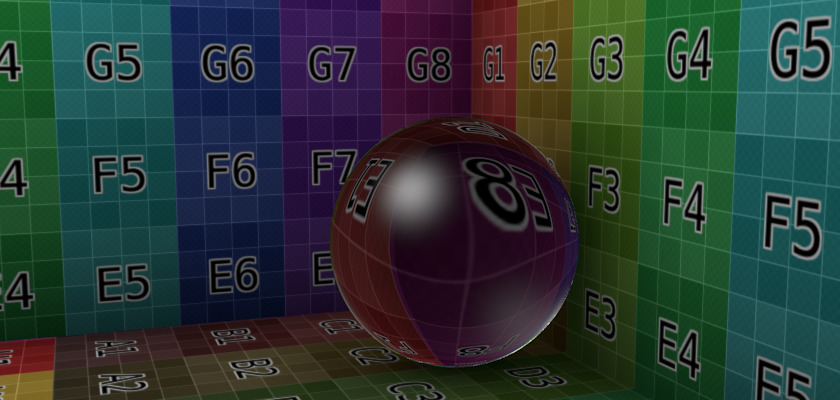
Transparency
Reference
Materials in Blender can be set to be transparent, so that light can pass through any objects using the material. Transparency is controlled using an “alpha” channel, where each pixel has an additional value, range 0-1, in addition to its RGB color values. If alpha=0, then the pixel is transparent, and the RGB values for the surface contribute nothing to the pixel’s appearance; for alpha=1, the surface is fully opaque, and the color of the surface determines the final color of the pixel.
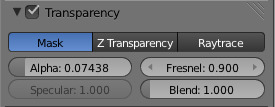
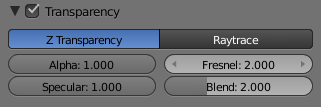
Transparency Panel.
In Blender, there are three ways in which the transparency of a material can be set: Mask, Z-Buffer and Ray-trace. Each of these is explained in more detail below. The Material Preview option with a sphere object gives a good demonstration of the capabilities of these three options.
Common Options
The following property controls are available for all transparency options:
- Alpha
- Sets the transparency of the material by setting all pixels in the alpha channel to the given value.
- Fresnel
- Sets the power of the Fresnel effect. The Fresnel effect controls how transparent the material is, depending on the angle between the surface normal and the viewing direction. Typically, the larger the angle, the more opaque a material becomes (this generally occurs on the outline of the object).
- Specular
- Controls the alpha/falloff for the specular color.
- Blend
- Controls the blending between transparent and non-transparent areas. Only used if Fresnel is greater than 0.
Mask
This option simply masks the Background. It uses the alpha channel to mix the color of each pixel on the active object plane with the color of the corresponding background pixel, according to the alpha channel of the pixel. Thus for alpha = 1, the object color is seen – the object is completely opaque; but if alpha = 0, only the background is seen – the object is transparent (but note that any other object behind the active object disappears).
This is useful for making textures of solid or semi-transparent objects from photographic reference material, i.e. a mask is made with alpha opaque for pixels within the object, and transparent for pixels outside the object.
See also
Z Buffer
This uses the alpha buffer for transparent faces. The alpha value of each pixel determines the mix of the basic color of the material, and the color of the pixel is determined from the objects/background behind it. Only basic settings are available with this option; it does not calculate refractions.
Raytraced Transparency
Uses ray tracing to calculate refractions. Ray tracing allows for complex refractions, falloff, and blurring, and is used for simulating the refraction of light rays through a transparent material, like a lens.
Note
The Raytrace option is only available in the Blender Render and Cycles render engines, but not in the Game Engine.
A ray is sent from the camera and travels through the scene until it encounters an object. If the first object hit by the ray is non-transparent, then the ray takes the color of the object.
If the object is transparent, then the ray continues its path through it to the next object, and so on, until a non-transparent object is finally encountered which gives the whole chain of rays its color. Eventually, the first transparent object inherits the colors of its background, proportional to its Alpha value (and the Alpha value of each transparent Material hit in between).
But while the ray travels through the transparent object, it can be deflected from its course according to the Index of Refraction (IOR) of the material. When you actually look through a plain sphere of glass, you will notice that the background is upside-down and distorted: this is all because of the Index of Refraction of glass.
Note
Enable Raytracing
To get ray-traced transparency, you need to:
- Enable ray tracing in your Render settings. This is done in the panel. Ray tracing is enabled by default.
- Set your Alpha value to something other than 1.0.
- In order for the background material to receive light passing through your transparent object, Receive Transparent must be turned on for that material in the panel.
Options
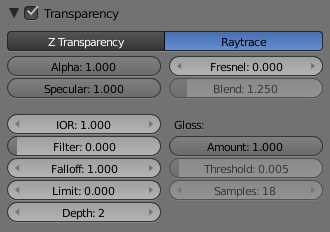
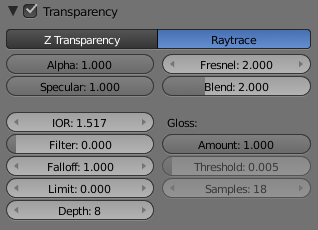
The Transparency Panel.
In addition to the common options given above, the following property controls are available:
- IOR
- Index of Refraction. Sets how much a ray traveling through the material will be refracted, hence producing a distorted image of its background. See IOR values for Common Materials below.
- Filter
- Amount of filtering for transparent ray trace. The higher this value, the more the base color of the material will show. The material will still be transparent but it will start to take on the color of the material. Disabled (0.0) by default.
- Falloff
- How fast light is absorbed as it passes through the material. Gives ‘depth’ and ‘thickness’ to glass.
- Limit
- Materials thicker than this are not transparent. This is used to control the threshold after which the filter color starts to come into play.
- Depth
- Sets the maximum number of transparent surfaces a single ray can travel through. There is no typical value. Transparent objects outside the Depth range will be rendered pitch black if viewed through the transparent object that the Depth is set for. In other words, if you notice black areas on the surface of a transparent object, the solution is probably to increase its Depth value (this is a common issue with ray tracing transparent objects). You may also need to turn on transparent shadows on the background object.
- Gloss
Settings for the glossiness of the material.
- Amount
- The clarity of the refraction. Set this to something lower than zero to get a blurry refraction.
- Threshold
- Threshold for adaptive sampling. If a sample contributes less than this amount (as a percentage), sampling is stopped.
- Samples
- Number of cone samples averaged for blurry refraction.
Examples
Index of Refraction
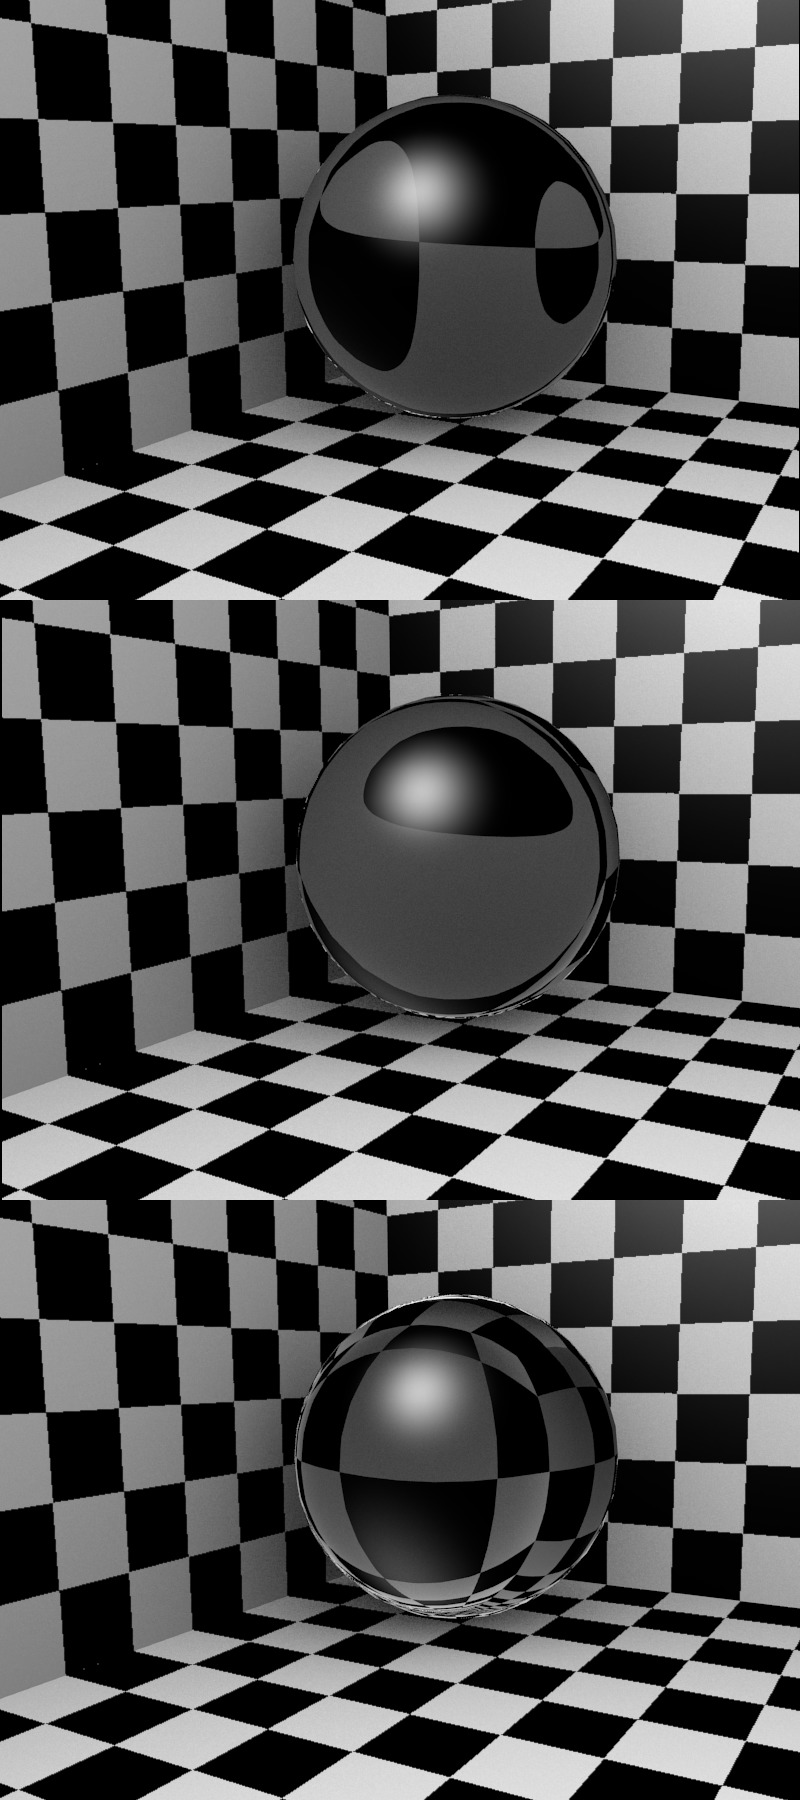
Influence of the IOR of an Object on the distortion of the background: spheres of Water, Glass and Diamond (top to bottom).
(Influence of the IOR of an Object on the distortion of the background: spheres of Water, Glass and Diamond (top to bottom)). There are different values for typical materials: Air: 1.000 (no refraction), Alcohol: 1.329, Glass: 1.517, Plastic: 1.460, Water: 1.333 and Diamond: 2.417.
Fresnel
Note
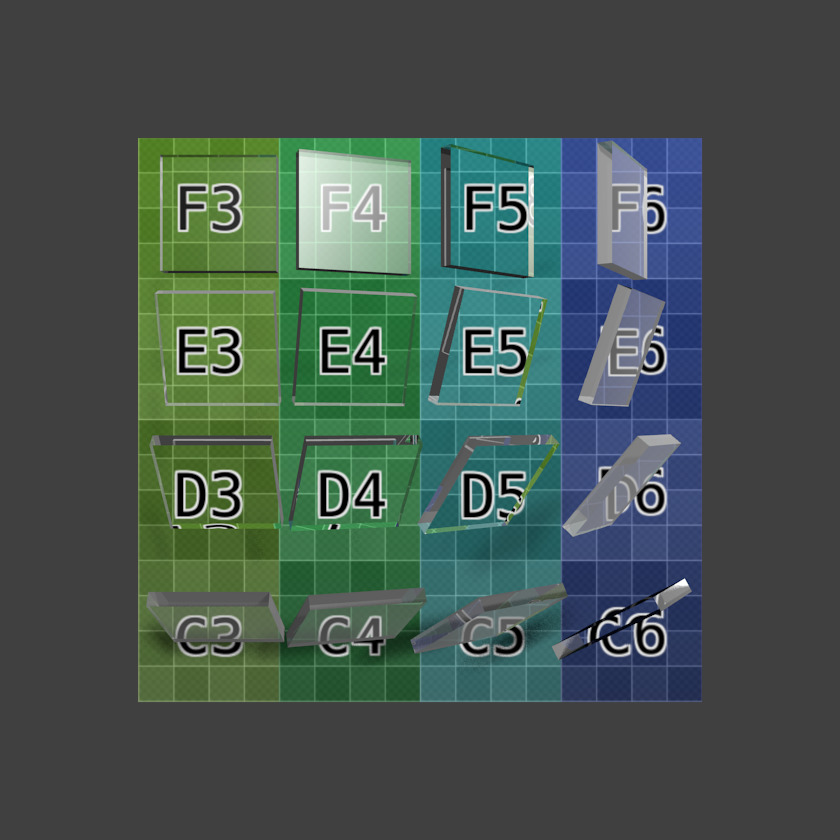
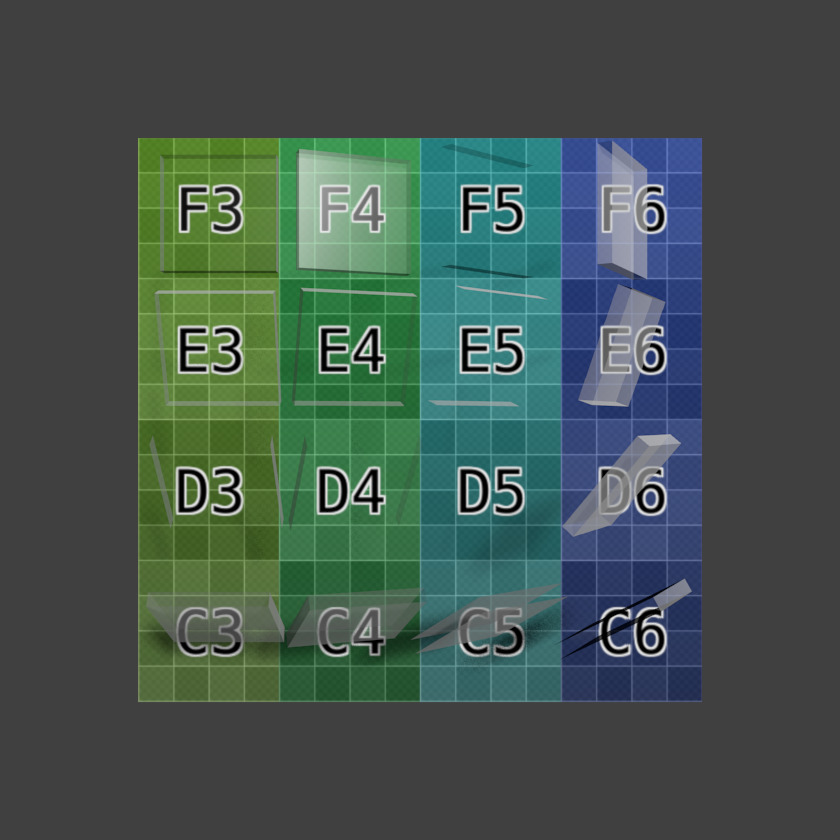
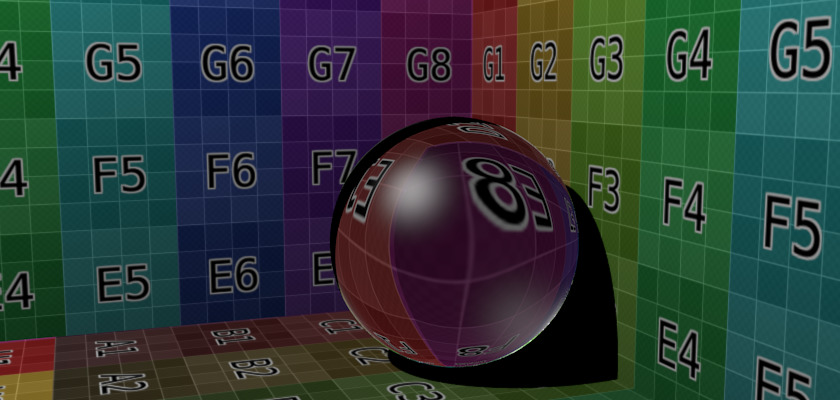
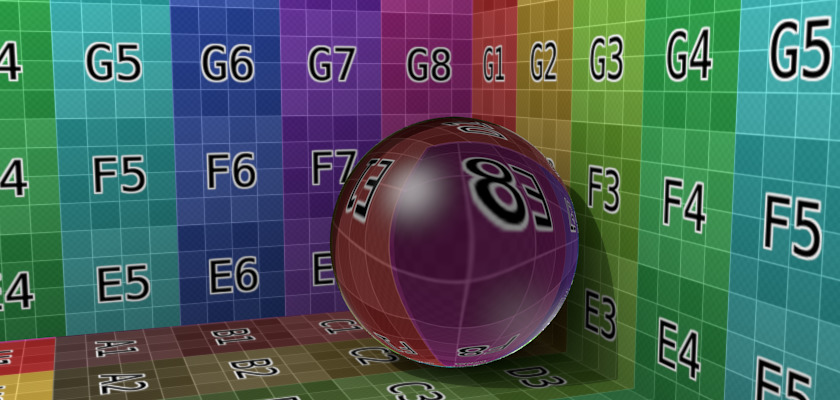
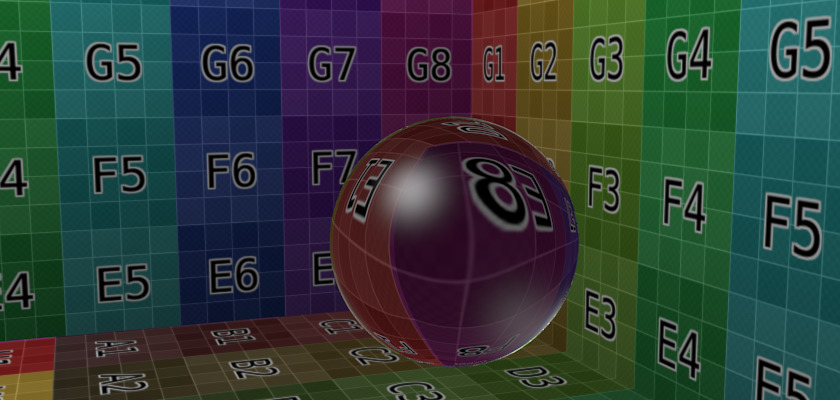
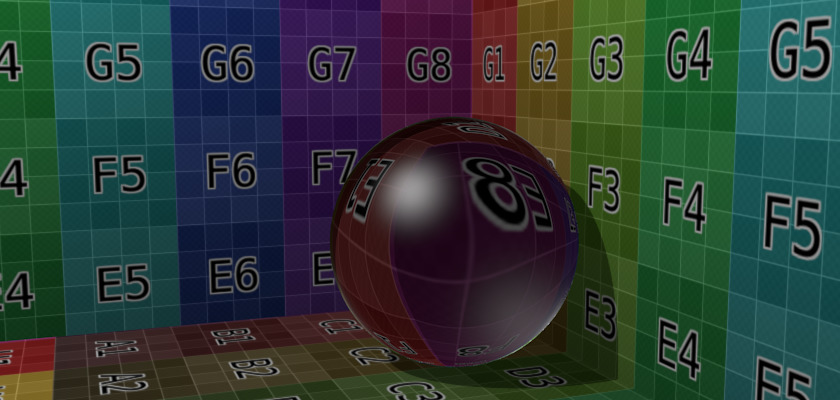
The specular highlight in the F4 glass tile (which is facing midway between the light and the camera); the Fresnel effect can be seen in row C and column 6 where the faces are turned away from the camera.
The amount of Fresnel effect can be controlled by either increasing the Blend value or decreasing the Alpha value.
Depth
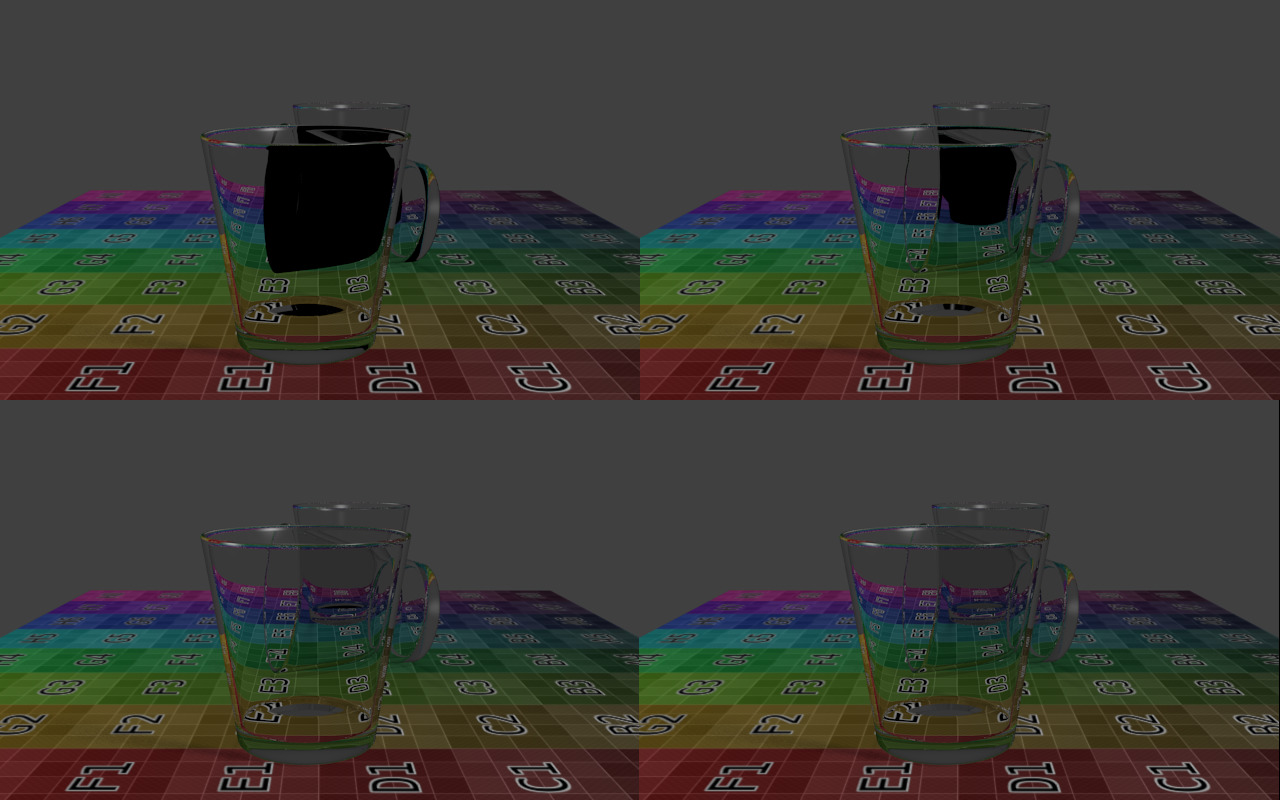
A simple scene with three glasses on a surface, and three lamps. Depth was set to 4, 8, 12, and 14, resulting in render times of 24 sec, 34 sec, 6 min, and 11 min respectively. (Download blend-file.)
Increasing Depth also considerably increases render time. Each time a light ray passes through a surface, the ray-tracing algorithm is called recursively. In the example above, each side of each glass has an exterior and an interior surface. Light rays thus have to pass through four surfaces for each glass.
But not only that, at every point on a surface, some of the light can be reflected, or mirrored off the surface in various directions. This results in multiple rays needing to be calculated for each point (often referred to as a tree of rays). In each of the rendered images above there are 640×400=256 000 pixels. By increasing Depth, at least one tree of rays is added to each pixel.
Be kind to your computer. Carefully placing objects in a scene to avoid overlapping transparent objects is often an interesting alternative.
Hints
Transparent shadows
By default, the shadows of transparent objects are rendered solid black, as if the object was not transparent at all. But in reality, the more transparent an object is, the lighter its shadow will be.
In Blender, transparent shadows are set on the materials that receive the shadows from the transparent object. This is enabled and disabled with the Receive Transparent button, in the panel. The shadow’s brightness is dependent on the Alpha value of the shadow casting material.
Alternatives to transparent ray-traced shadows can be found in the World tab, namely the Ambient Occlusion, Environment Lighting, and Gather panels. Alternatively, a texture can be used to control the Intensity value of the shadow-receiving material.
IOR values for Common Materials
The following list provides some index of refraction values to use when ray-traced transparency is used for various liquids, solids (gems), and gases:
Gases
|
|
|
Common Liquids
|
|
|
Common Transparent Materials
|
|
|
Common Opaque Materials
|
|
|
Gemstones
|
|
|
Metals
|
|
|
