Introduction
In CGI, texture mapping is a method to add detail to surfaces by projecting images and patterns onto those surfaces. The projected images and patterns can be set to affect not only color, but also specularity, reflection, transparency, and even fake 3-dimensional depth. Most often, the images and patterns are projected during render time, but texture mapping is also used to sculpt, paint and deform objects.
See also
Texture processing for Combined Textures in the Compositor.
Material Textures
The material settings that we’ve seen so far produce smooth, uniform objects, but such objects are not particularly true to reality, where uniformity tends to be uncommon and out of place. In order to deal with this unrealistic uniformity, Blender allows the user to apply textures which can modify the reflectivity, specularity, roughness and other surface qualities of a material.
Textures Layer on base Material.
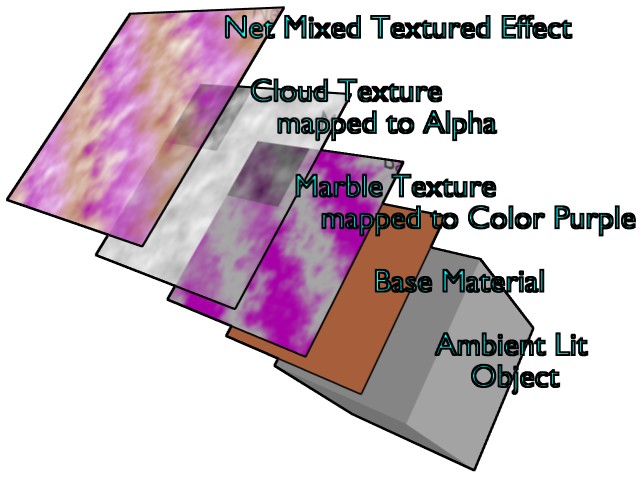
Textures are like additional layers on top of the base material. Textures affect one or more aspects of the object’s net coloring. The net color you see is a sort of layering of effects, as shown in this example image. The layers, if you will, are:
- Your object, lit with ambient light based on your world settings.
- Your base material, which colors the whole surface in a uniform color that reacts to light, giving different shades of the diffuse, specular, and mirror colors based on the way light passes through and into the surface of the object.
- A primary texture layer that overlays a purple marble coloring.
- A second cloud texture that makes the surface transparent in a misty/foggy sort of way by affecting the Alpha value.
- These two textures are mixed with the base material to provide the net effect: a cube of purplish-brown fog.
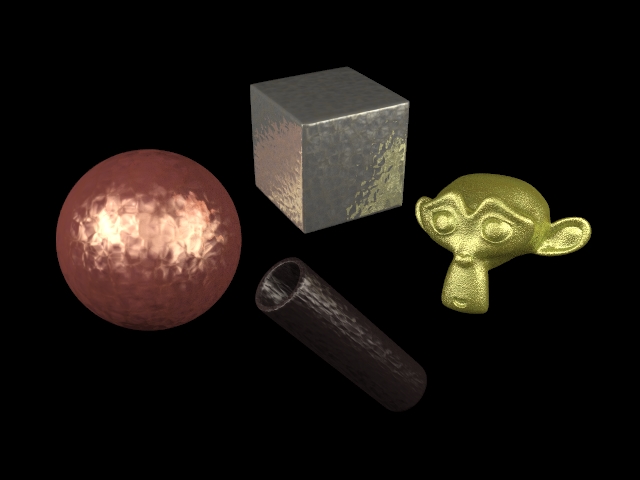
Some Metal Textures.
This notion of using more than one texture, to achieve a combined effect, is one of the “hidden secrets” of creating realistic-looking objects. If you carefully “look at the light” while examining any real-life object, you will observe that the final appearance of that object is best described as the combination, in different ways and in different amounts, of several distinct underlying visual characteristics. These characteristics might be more (or less) strongly apparent at different angles, under different lighting conditions, and so forth. Blender allows you to achieve this in many ways.
You can use “a stack of texture layers” as described in this section, or you can also use arbitrarily-complex networks of “texture nodes” as discussed here.